Popular Solar Panel Mesh for Birds Nesting Prevention

Birds nesting under solar panels have many disadvantages, such as invasive birds leading to corrosion of solar panels, solar panels stopping working, bird noise, and dirty bird droppings. Therefore, we should take measures to prevent birds from nesting under solar panels.

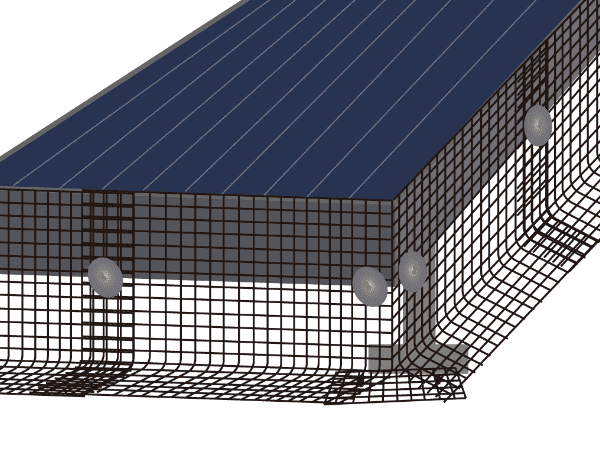
Solar panel mesh is widely used in the UK, America and Australia markets. It can help prevent pigeons and other birds from nesting under the solar panel. It can reduce cleaning, maintenance costs and reduce fire hazards as well.

Here, we will show you how to install the solar panel mesh on your rooftop.

Preparation

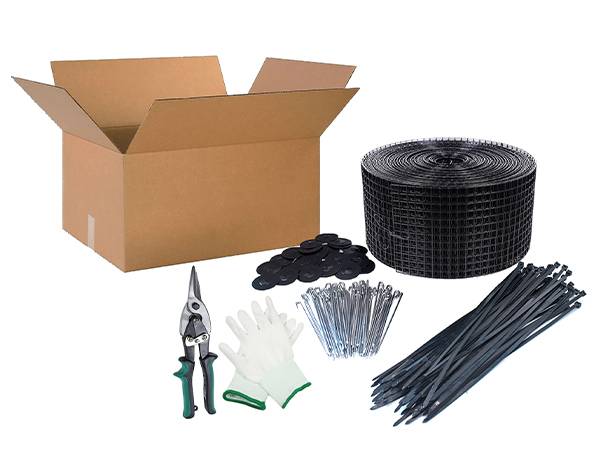
Prepare List / Solar Panel Kit in Carton
  1. 1 roll solar panel mesh
  2. 60/100 units of solar panel mesh clips
  3. 1 wire cutter
  4. 1 pair of anti static gloves
  5. Several corner zip ties
  6. Installation instruction manual
Installation
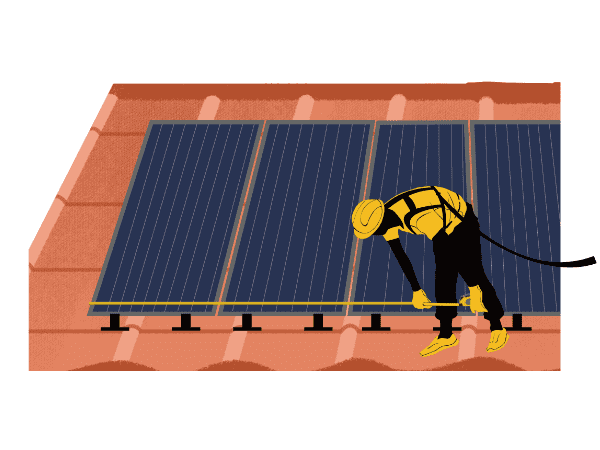
A worker is measuring the length and height of solar panel.
Step 1

Measure the length of solar panel with a tape measure.

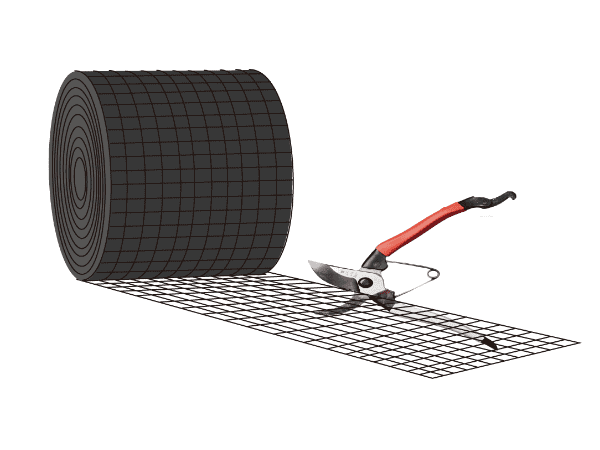
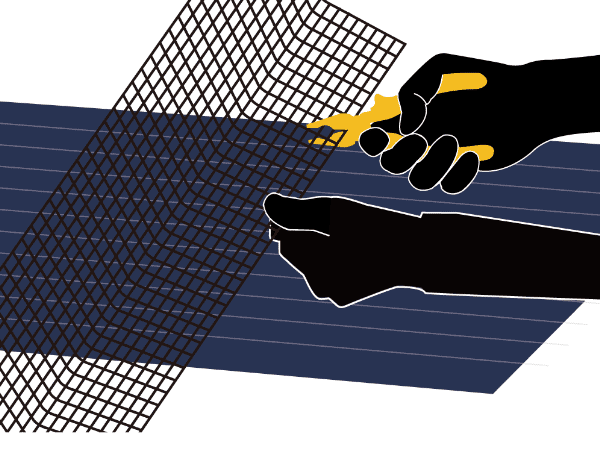
A wire cutter is cutting the solar panel mesh.
Step 2

Cut the solar panel mesh according to the panel length with a wire cutter.

A worker is marking the height of solar panel on solar panel mesh.
Step 3

Compare the height of the solar panel and the solar panel mesh.

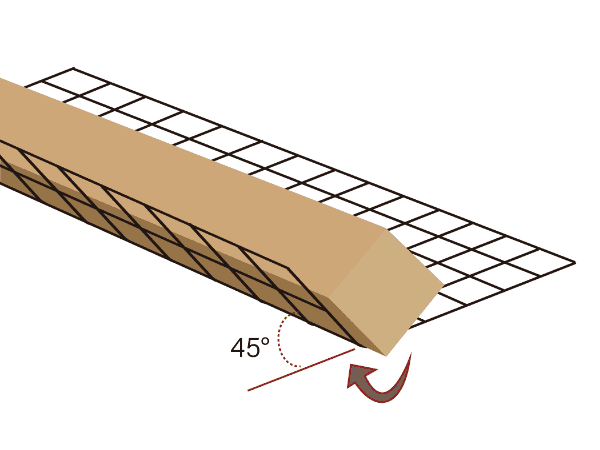
A solar panel mesh is folded by square wooden rod at 45 degree.
Step 4

Fold the extra height of solar panel mesh at 45 degree with a square wooden rod.

A hand is holding clips to fix solar panel mesh and solar panel together.
Step 5

Stick the clip hook through the mesh and panel, and hook it to the panel lip.

A hand is tightening the speed washer against the mesh on solar panel.
Step 6

Sleeve the speed washer through the clip rod, then tighten it against the mesh.

The clip fixing the solar panel and solar panel mesh is bent upwards.
Step 7

Bend the clip rod upwards with hands.

The pliers are clamping off the clip rod.
Step 8

Cut off the excess portion of the clip rod with pliers.

Solar panel mesh clips spaced 12
Step 9

Attach clips approximately every 12" – 18" (30 cm – 50 cm).

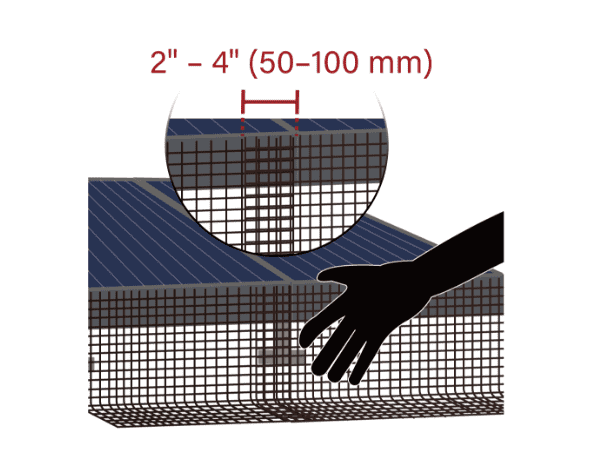
2 solar panel meshes overlapping about 2
Step 10

Overlap about 2" – 4" (50 mm – 100 mm) when start a new piece of mesh.

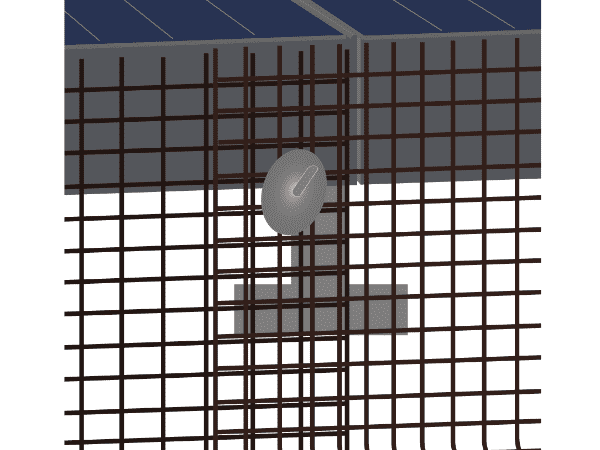
A clip with speed washer is inserted to fix 2 overlapping meshes with panel.
Step 11

Add clip and secure speed washer to fix overlapping meshes according to step 5-8.

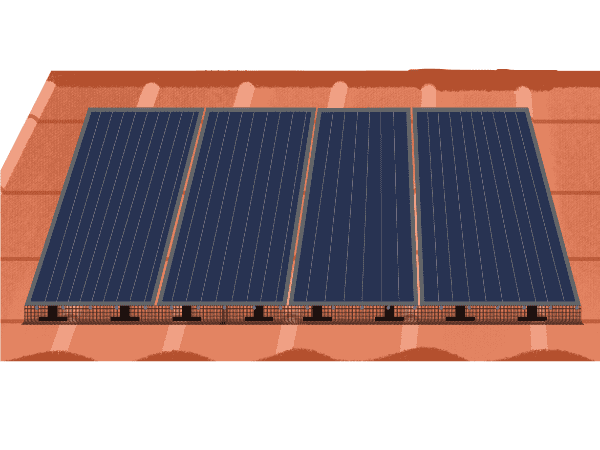
Solar panel with solar panel mesh on rooftop
Step 12

Solar panel meshes straight side installation is finished on rooftop.

Outside Corner Installation
A worker is holding a tape measure to determine the outside corner position.
Step 1

Measure to determine where the bend will go with a tape measure.

A wire cutter is cutting the solar panel mesh against the solar panel.
Step 2

Cut the mesh a straight slit near the rooftop in the corner part with a wire cutter.

A straight slit on solar panel mesh against the rooftop.
Step 3

Bend the mesh along the slit at a 90 degree angle and place it around the corner.

Clips with speed washers on solar panel meshes.
Step 4

Fasten the outside corner mesh and solar panel with clips and speed washers.

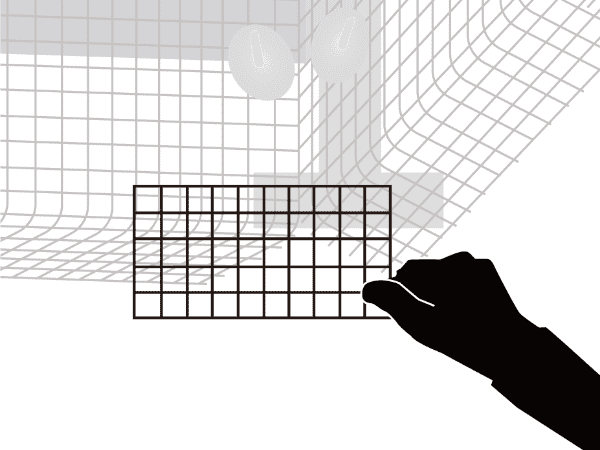
A hand is holding a small piece of solar panel mesh.
Step 5

Cut a small mesh about 2" × 4" to cover the gap between the corner mesh and the rooftop.

Fasten the solar panel mesh slit and the small mesh together with zip ties.
Step 6

Tie the small solar panel mesh and corner solar panel mesh in place with corner zip ties.

A wire cutter is cutting off the excess portion of zip ties.
Step 7

Cut off the excess portion of the zip ties on solar panel meshes with wire cutter.

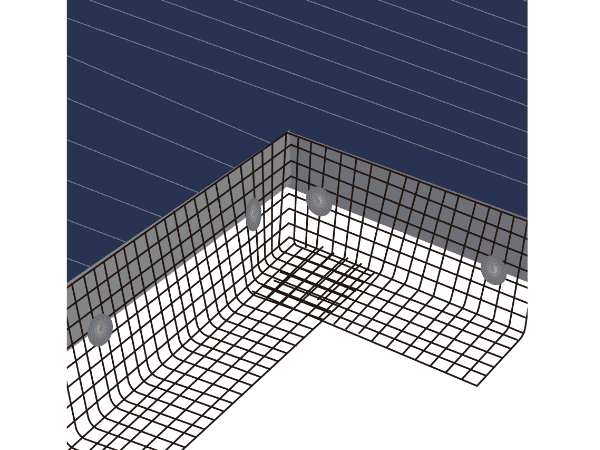
Solar panel and solar panel mesh fastened with clips, speed washers and zip ties.
Step 8

Solar panel mesh outside corner installation is finished.

Inside Corner Installation
A hand is pointing to the inside corner position on solar panel mesh.
Step 1

Match the mesh and solar panel corner to determine the position of the inside corner of the mesh.

A worker is cutting the solar panel mesh a 45 degree slit with pliers.
Step 2

Cut a 45 degree slit at the solar panel mesh bottom with pliers.

A worker is bending 2 pieces of mesh in opposite directions.
Step 2

Bend 2 ends of mesh in opposite directions to overlap the cut ends.

Inside corner mesh and solar panel is fastened with clips and speed washers.
Step 4

Secure both ends of the inside corner solar panel mesh with clips and speed washers.

A wire cutter is cutting off the excess portion of zip ties.
Step 5

Lock the bottom slit with zip ties. And cut off the excess portion with wire cutter.

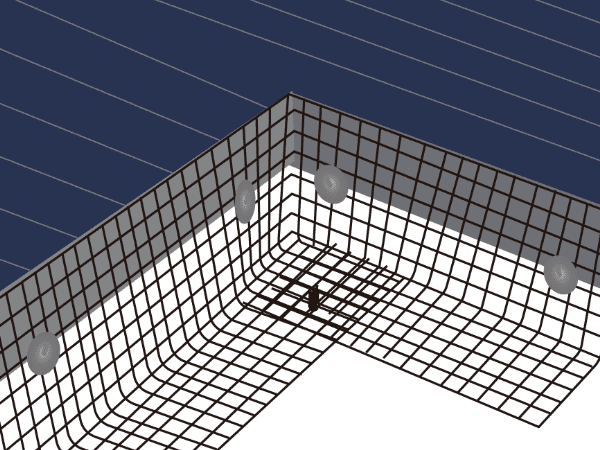
Solar panel and solar panel mesh fastened with clips, speed washers and zip ties.
Step 6

Solar panel mesh inside corner installation is finished.

Drawbacks of Birds Nesting Under Solar Panel
  • Invasive birds lead to the solar panels corrosion.
    The mess from birds is a serious problem that you should never ignore. Birds will leave their eggshells, grass, and other debris on solar panel, which can result in a foul build-up. In the absence of proper ammonia and saltwater test certificates, any bird droppings on the solar panel frame will damage aluminium, accelerating corrosion that can permanently damage solar panels.
  • Solar panels can stop working.
    When birds build nests under your solar panels, they can interfere with electrical wiring and cause the entire panel to stop working or potential fire outbreaks. It will cost you more money.
  • Birds that live in nests on your rooftop are so noisy.
    Enjoying a peaceful and comfortable environment is hard, especially when birds make their home on your rooftop.
  • Bird droppings on your solar panels are hard to remove.
    More birds under the solar panels means more birds on top of your solar panels. Bird droppings on your solar panels look terrible and become hard to remove, especially if baked by the sun. These stains can eventually cause your solar panels to stop working.